The smell of fresh bread reminds me of my grandmother’s kitchen. I remember watching her mix water and flour to make something amazing. Water bread is a simple yet powerful tradition.
So, what is water bread? It’s a basic bread recipe that connects us to our roots. It only needs flour, water, and sometimes salt. This recipe has been around for thousands of years, showing that simple food can be delicious.
Water bread’s history goes back nearly 30,000 years. Early humans made flatbreads from plant starches. Over time, water bread became a staple in many cultures. Its beauty is in its simplicity and flexibility.
Table of Contents
Understanding the Basics of Water Bread
Water bread is a basic bread that has been around for a long time. It’s simple and has a rich history in many cultures. This bread is known for its simplicity and versatility.

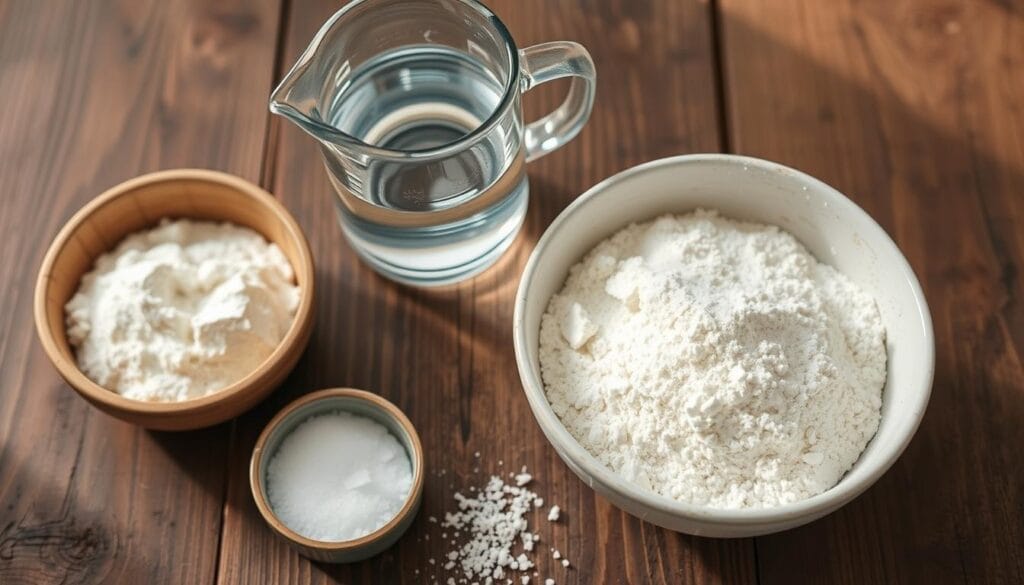
A simple water bread recipe needs just a few ingredients. You’ll need flour, water, and salt. This simple recipe has been a mainstay for many communities, showing its importance in food traditions.
Definition of Water Bread
Water bread is made with flour, water, and salt. It doesn’t need yeast or time to rise. This makes it fast and simple to make.
Historical Background
- It started in ancient times as a food for survival.
- Travelers and soldiers used it because it was easy to make.
- It was a key food when other foods were scarce.
Cultural Significance
Water bread has a special place in many cultures. It’s used in religious ceremonies, daily meals, and traditional practices.
| Culture | Water Bread Usage |
|---|---|
| Middle Eastern | Communion and ritual offerings |
| European | Peasant staple food |
| Mediterranean | Base for various flatbreads |
Water bread is more than a recipe. It connects us to our survival, creativity, and food heritage.
What is Water Bread Made Of?

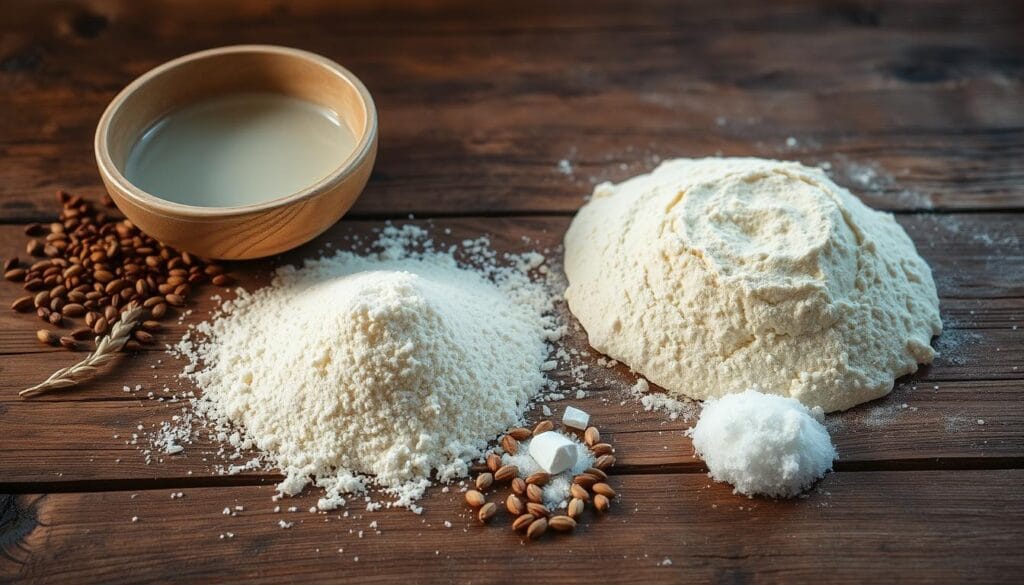
Water bread is a simple yet fascinating culinary creation. It shows the beauty of minimalist baking. You’ll find that water bread is made with just three main ingredients.
The main parts of water bread are quite simple:
- All-Purpose Flour
- Water
- Salt (optional, but recommended)
The beauty of water bread is in its simplicity. Unlike complex bread recipes, it only needs a few ingredients. Wheat flour is the main ingredient, giving the bread structure and substance.
When making your water bread, remember a few important things about ingredients:
- Flour quality greatly affects the bread’s taste and texture
- Water temperature is key for the dough’s consistency
- Salt adds flavor and helps control yeast growth
Nutritionally, water bread is modest. Each piece has about 130 calories. It has 27g of carbs, 4g of protein, and very little fat. Its simple ingredients make it easy for home bakers to make authentic, traditional bread.
Essential Ingredients for Water Bread Making
Making water bread is all about the right ingredients. Whether you’re using yeast or not, knowing the basics is key. This knowledge helps you create delicious bread.
All-Purpose Flour Selection
Choosing the right flour is vital for water bread. Look for all-purpose flour with 9-11% protein. This type works well for most home bakers. Professional bakers might suggest specific brands for the best results.
- King Arthur Unbleached Bread Flour: 450-480g recommended
- Protein content matters for gluten development
- Whole wheat flour creates denser texture
Water Quality and Temperature
Water is essential in bread making. Use lukewarm water, between 100°F to 115°F, for yeast activation. One cup of water weighs about 227g and affects dough consistency.
| Water Characteristic | Ideal Range |
|---|---|
| Temperature | 100°F – 115°F |
| Weight per Cup | 227g |
| Recommended Quantity | 1 1/2 cups |
Salt’s Essential Role
Salt does more than add flavor. It controls yeast growth and strengthens gluten. Use 1 1/2 to 2 1/4 teaspoons of table salt, depending on your taste.

Success in bread making comes from knowing these key ingredients. Try different flours and water temperatures to find your favorite water bread recipe.
No-Knead Water Bread Technique
Learning the no knead water bread recipe can change your baking at home. It lets you make tasty artisan-style bread with little effort. This recipe is great for both new and seasoned bakers.
The secret to great no-knead bread is knowing the science of slow fermentation. By not kneading much, you let nature work its magic. This makes the bread’s gluten stronger and its taste better.
- Minimal ingredient handling
- Extended fermentation time
- Enhanced bread flavor
- Less physical effort
Here are the main ingredients for your no knead water bread recipe:
| Ingredient | Quantity |
|---|---|
| Bread Flour | 3 cups |
| Warm Water | 1½ cups (110°F) |
| Instant Yeast | ½ teaspoon |
| Sea Salt | 1½ teaspoons |
The dough’s long rise is where the magic happens. It needs 12-18 hours at room temperature. This time lets the flavors mature and the flour proteins break down.
Once risen, shape the dough softly and let it rest for an hour. Bake in a hot Dutch oven at 450°F. Cover it for 30 minutes, then uncover for a crispy crust.
Traditional Kneading Methods for Water Bread
Mastering kneading is key to making the best water bread. The traditional kneading method turns simple ingredients into a delicious loaf. It gives the bread the perfect texture and flavor.
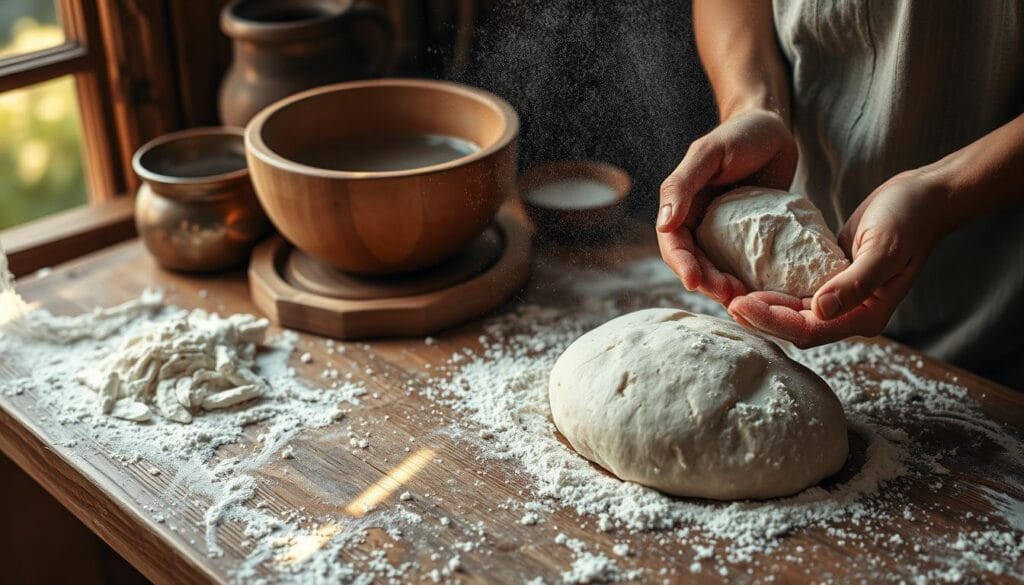
Step-by-Step Kneading Process
Your water bread recipe needs a careful kneading technique. This develops gluten and makes an amazing loaf. Here are the essential steps:
- Combine flour and salt in a large mixing bowl
- Create a well in the center for water
- Mix ingredients until a shaggy dough forms
- Transfer to a clean surface for kneading
- Use the heel of your hand to push and fold dough
- Rotate and repeat for 10-12 minutes
Common Kneading Mistakes to Avoid
- Overworking the dough, causing toughness
- Under-kneading, preventing proper gluten development
- Using cold hands or surfaces
- Adding too much flour during kneading
Knowing When the Dough is Ready
Check if your water bread dough is ready with these signs:
| Test | Indication |
|---|---|
| Windowpane Test | Stretch a small piece – if it becomes translucent without breaking, dough is ready |
| Bounce Back | Dough springs back when gently pressed |
| Smooth Texture | Surface becomes smooth and elastic |
Practice these techniques to make your water bread recipe perfect. You’ll be able to make bakery-quality bread at home.
Baking Techniques and Temperature Guidelines
Mastering the perfect water bread recipe is all about the right baking techniques and temperature. The right steps can turn simple ingredients into a delicious loaf. This loaf will have amazing texture and flavor.
Temperature is key when making your best water bread recipe. Experts say to keep the oven at 450-475°F for the best results. This high heat makes the outside crispy and the inside soft and airy.
Key Baking Techniques
- Preheat your oven for at least 30 minutes
- Use a pizza stone or Dutch oven for even heat distribution
- Create steam during the first 10-15 minutes of baking
- Monitor internal bread temperature (usually 190-210°F)
Steam is a big deal in water bread baking. It makes the crust golden and crispy, just like in professional bakeries.
Hydration and Baking Performance
| Hydration Level | Bread Characteristics |
|---|---|
| 50-55% | Dense, compact texture |
| 65-74% | Soft, moderate crumb structure |
| 75% and above | Open, airy crumb with larger air pockets |
Success with your water bread recipe comes from knowing these baking techniques. Try different methods to find your favorite loaf!
Creating the Perfect Crust and Texture
Making the perfect water bread rolls is all about finding the right balance. You want a crispy outside and a soft inside. This is what makes a bread recipe stand out.
Achieving a Crispy Exterior
To get a golden, crispy crust, focus on a few important things:
- Preheat your oven to 425°F (220°C)
- Use a baking stone or cast-iron Dutch oven
- Introduce steam during the first 20 minutes of baking
- Brush the surface with water or egg wash
Maintaining a Soft Interior
For a soft inside, you need to get the hydration right. Your water bread rolls should feel light and airy. They should melt in your mouth.
| Technique | Impact on Texture |
|---|---|
| Proper Hydration | 60-65% water content ensures softness |
| Gentle Kneading | Prevents gluten from becoming tough |
| Slow Rise | Develops complex flavor and soft texture |
Troubleshooting Texture Issues
If your water bread rolls aren’t perfect, don’t worry. Here are some common fixes:
- Tough crust: Lower oven temperature slightly
- Dense interior: Ensure proper proofing time
- Uneven texture: Knead more consistently
- Dry bread: Check water-to-flour ratio
Remember, making the perfect water bread recipe takes time. Each try brings you closer to making amazing bread at home.
Storage and Preservation Methods
Keeping your homemade water bread fresh is key. The right storage can make your water bread rolls last longer. Knowing how to store them ensures you enjoy them for more days.
Temperature and packaging are important when storing water bread. For short-term, room temperature is best, lasting 2-3 days. Use a clean cotton cloth or paper bag to keep the bread crispy and prevent moisture.
Storage Options
- Room Temperature Storage
- Use breathable cotton cloth
- Keep away from direct sunlight
- Store in a cool, dry place
- Refrigerator Preservation
- Wrap tightly in plastic wrap
- Consume within 5-7 days
- Allow bread to reach room temperature before serving
- Freezer Long-Term Storage
- Slice before freezing
- Use airtight freezer bags
- Freeze up to 3 months
Reheating your water bread is easy. For bread stored in the fridge or freezer, warm it in an oven at 350°F for 5-10 minutes. This brings back its original texture and taste.
Preservation Insights
| Storage Method | Duration | Best Practices |
|---|---|---|
| Room Temperature | 2-3 days | Cotton cloth, cool area |
| Refrigerator | 5-7 days | Plastic wrap, sealed container |
| Freezer | Up to 3 months | Pre-slice, airtight bags |
Pro tip: Don’t store water bread in plastic bags for a long time. It can make the bread soggy. Always let it cool down before storing to avoid moisture buildup.
Variations and Creative Adaptations
Water bread is a canvas for culinary creativity. You can use yeast or skip it for a no-yeast version. This simple bread can become a delightful culinary journey.
Bread enthusiasts can try different techniques to add unique flavors and textures. Each variation reflects regional traditions and personal touches.
Mediterranean Style Water Bread
Mediterranean water bread is all about bright flavors and fresh ingredients. You can enhance your basic recipe with:
- Fresh rosemary and thyme
- Extra virgin olive oil
- Coarse sea salt
- Sundried tomato pieces
Rustic Italian Variations
Italian bread traditions inspire rich water bread adaptations. You can create rustic loaves that capture the essence of regional character.
- Incorporate regional wheat varieties
- Add crushed fennel seeds
- Use wood-fired baking methods
Modern Interpretations
Today’s bakers are reimagining water bread with new approaches. From gluten-free to artisan-style, these modern twists keep the tradition alive while introducing innovation.
- Whole grain flour blends
- Ancient grain combinations
- Sourdough-inspired techniques
Conclusion
Exploring water bread takes us back to the beginning of civilization. It starts with simple ingredients like flour and water. Your bread-making journey connects you to thousands of years of history.
A simple water bread recipe can turn pantry staples into a tasty treat. It connects us to our culinary roots.
The art of bread making is more than a recipe. It’s about learning about hydration, gluten, and fermentation. Each loaf you make tells a story of your skills and creativity.
By mastering water bread, you’ll grow more confident in baking. You’ll find joy in making something special from just a few ingredients.
Your bread-making journey is ongoing. Every batch is a chance to get better, try new flours, and find your own style. Whether for a family dinner or traditional baking, remember that bread is both art and science.
Keep practicing, stay curious, and enjoy the tasty results of your exploration.
